Ready to set up your Navigatr provider account and start issuing badges for your organisation? Follow these steps to get started and enjoy a free 14-day trial as a new provider.
To sign up for a provider account, you’ll need a work or organisation email address—public email domains like Gmail or Yahoo can’t be accepted. This helps us verify issuers and build trust in the badges you create.
Start at Navigatr
- Go to navigatr.app and click Sign Up.
- In the sign-up options, choose Start Free Trial. This enables you to create and issue badges for your organisation.

Complete the Sign-Up Form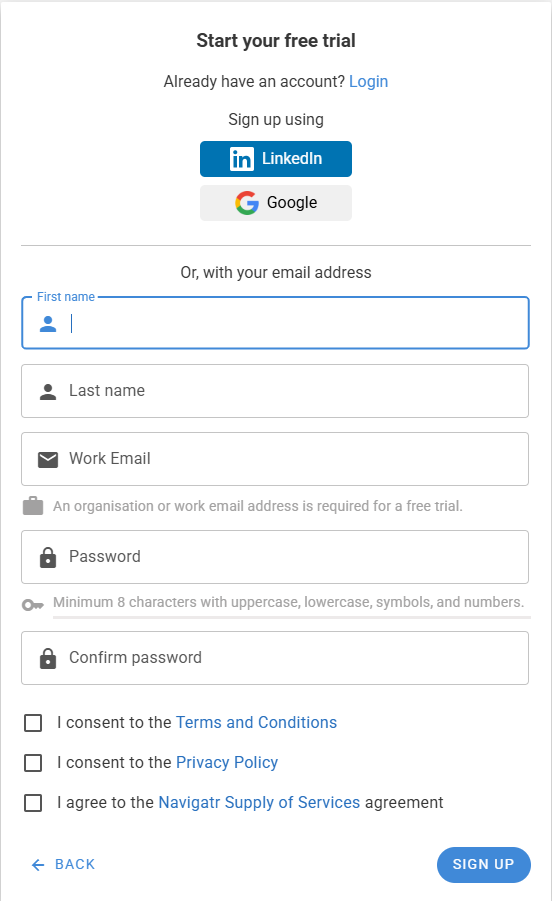
- Fill in your First Name, Last Name, and Work Email. Make sure to use your organisation’s email address, as public domains like Gmail or Yahoo aren’t accepted.
- Create a Password that meets security requirements.
- Accept the Terms and Conditions, Privacy Policy, and Supply of Services Agreement.
- Click Sign Up to proceed.
Verify Your Email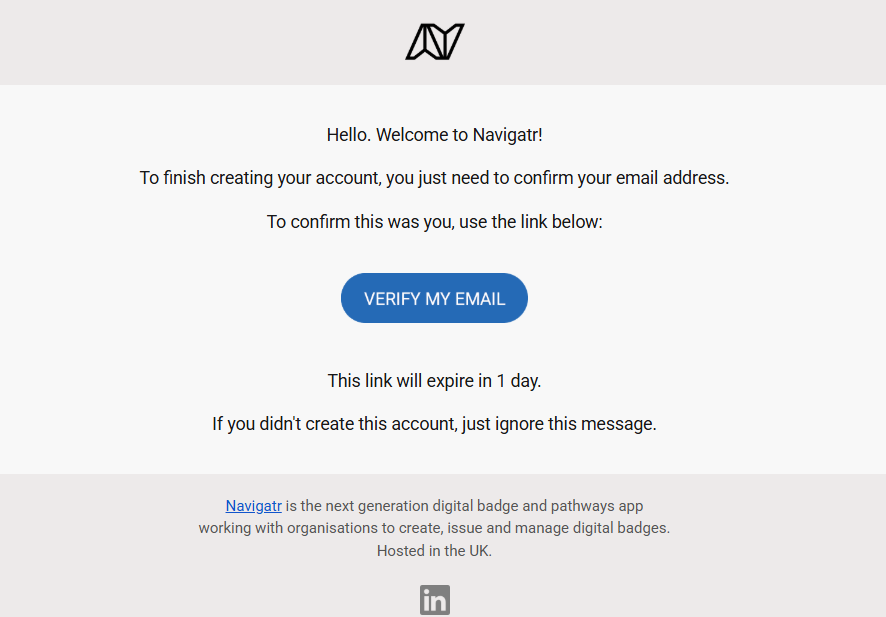
- Check your inbox (or spam folder) for a verification email from Navigatr.
- Click Verify My Email in the email to confirm your account.
Complete Your Provider Profile
- After email verification, you’ll be prompted to enter details about your provider account:
- Organisation Name: Enter the name of your organisation.
- Your Role: Specify your role.
- Recognition Goals: Select what achievements you’ll be recognising, such as “Professional Development” or “Event Participation.”
- Click Next to continue.
Create Your First Badge with Badge Assistant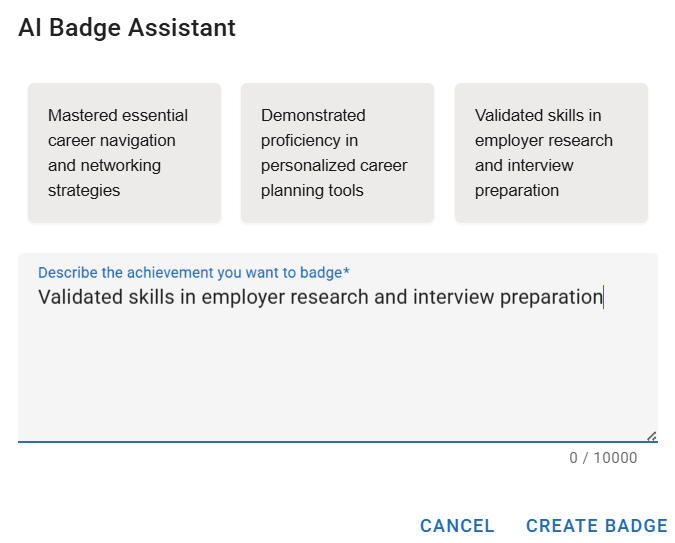
- Navigatr’s Badge Assistant will guide you through setting up your first badge:
- Describe the Achievement: Use the text box to describe the achievement you want to recognise.
- Get Inspired: Check the example descriptions if you need ideas.
- Click Create to generate your badge.
Review, Publish, and Issue Your Badge
- Your new badge is saved as a draft. Here’s how to get it ready for issuing:
- Review the Badge: Ensure all details are correct.
- Publish the Badge: Click Publish to finalise it. (Only published badges can be issued.)
- Start Issuing: Once published, you’re ready to award the badge.
Set Up Your Provider Branding
- To make your profile look professional, go to Provider Settings in the admin menu and set up your branding:
- Logo: Upload your organisation’s logo.
- Banner Image: Add an eye-catching banner.
- Social Links: Link your social media profiles.
- Description: Write a brief overview of your organisation’s mission and values.
Explore the Dashboard
- Now that your provider account is set up and branded, take a moment to explore the dashboard where you’ll manage badges, activities, and analytics.
You’re all set! With your free 14-day trial, start issuing badges and building meaningful recognition for achievements through Navigatr. Enjoy the journey!
If you’re having trouble signing up, check that you're using a valid work email address. For further help, please contact support@navigatr.app.
Was this article helpful?
That’s Great!
Thank you for your feedback
Sorry! We couldn't be helpful
Thank you for your feedback
Feedback sent
We appreciate your effort and will try to fix the article